LED Matrix Clock · Flashing & Setup
by sunxiaojianpublished on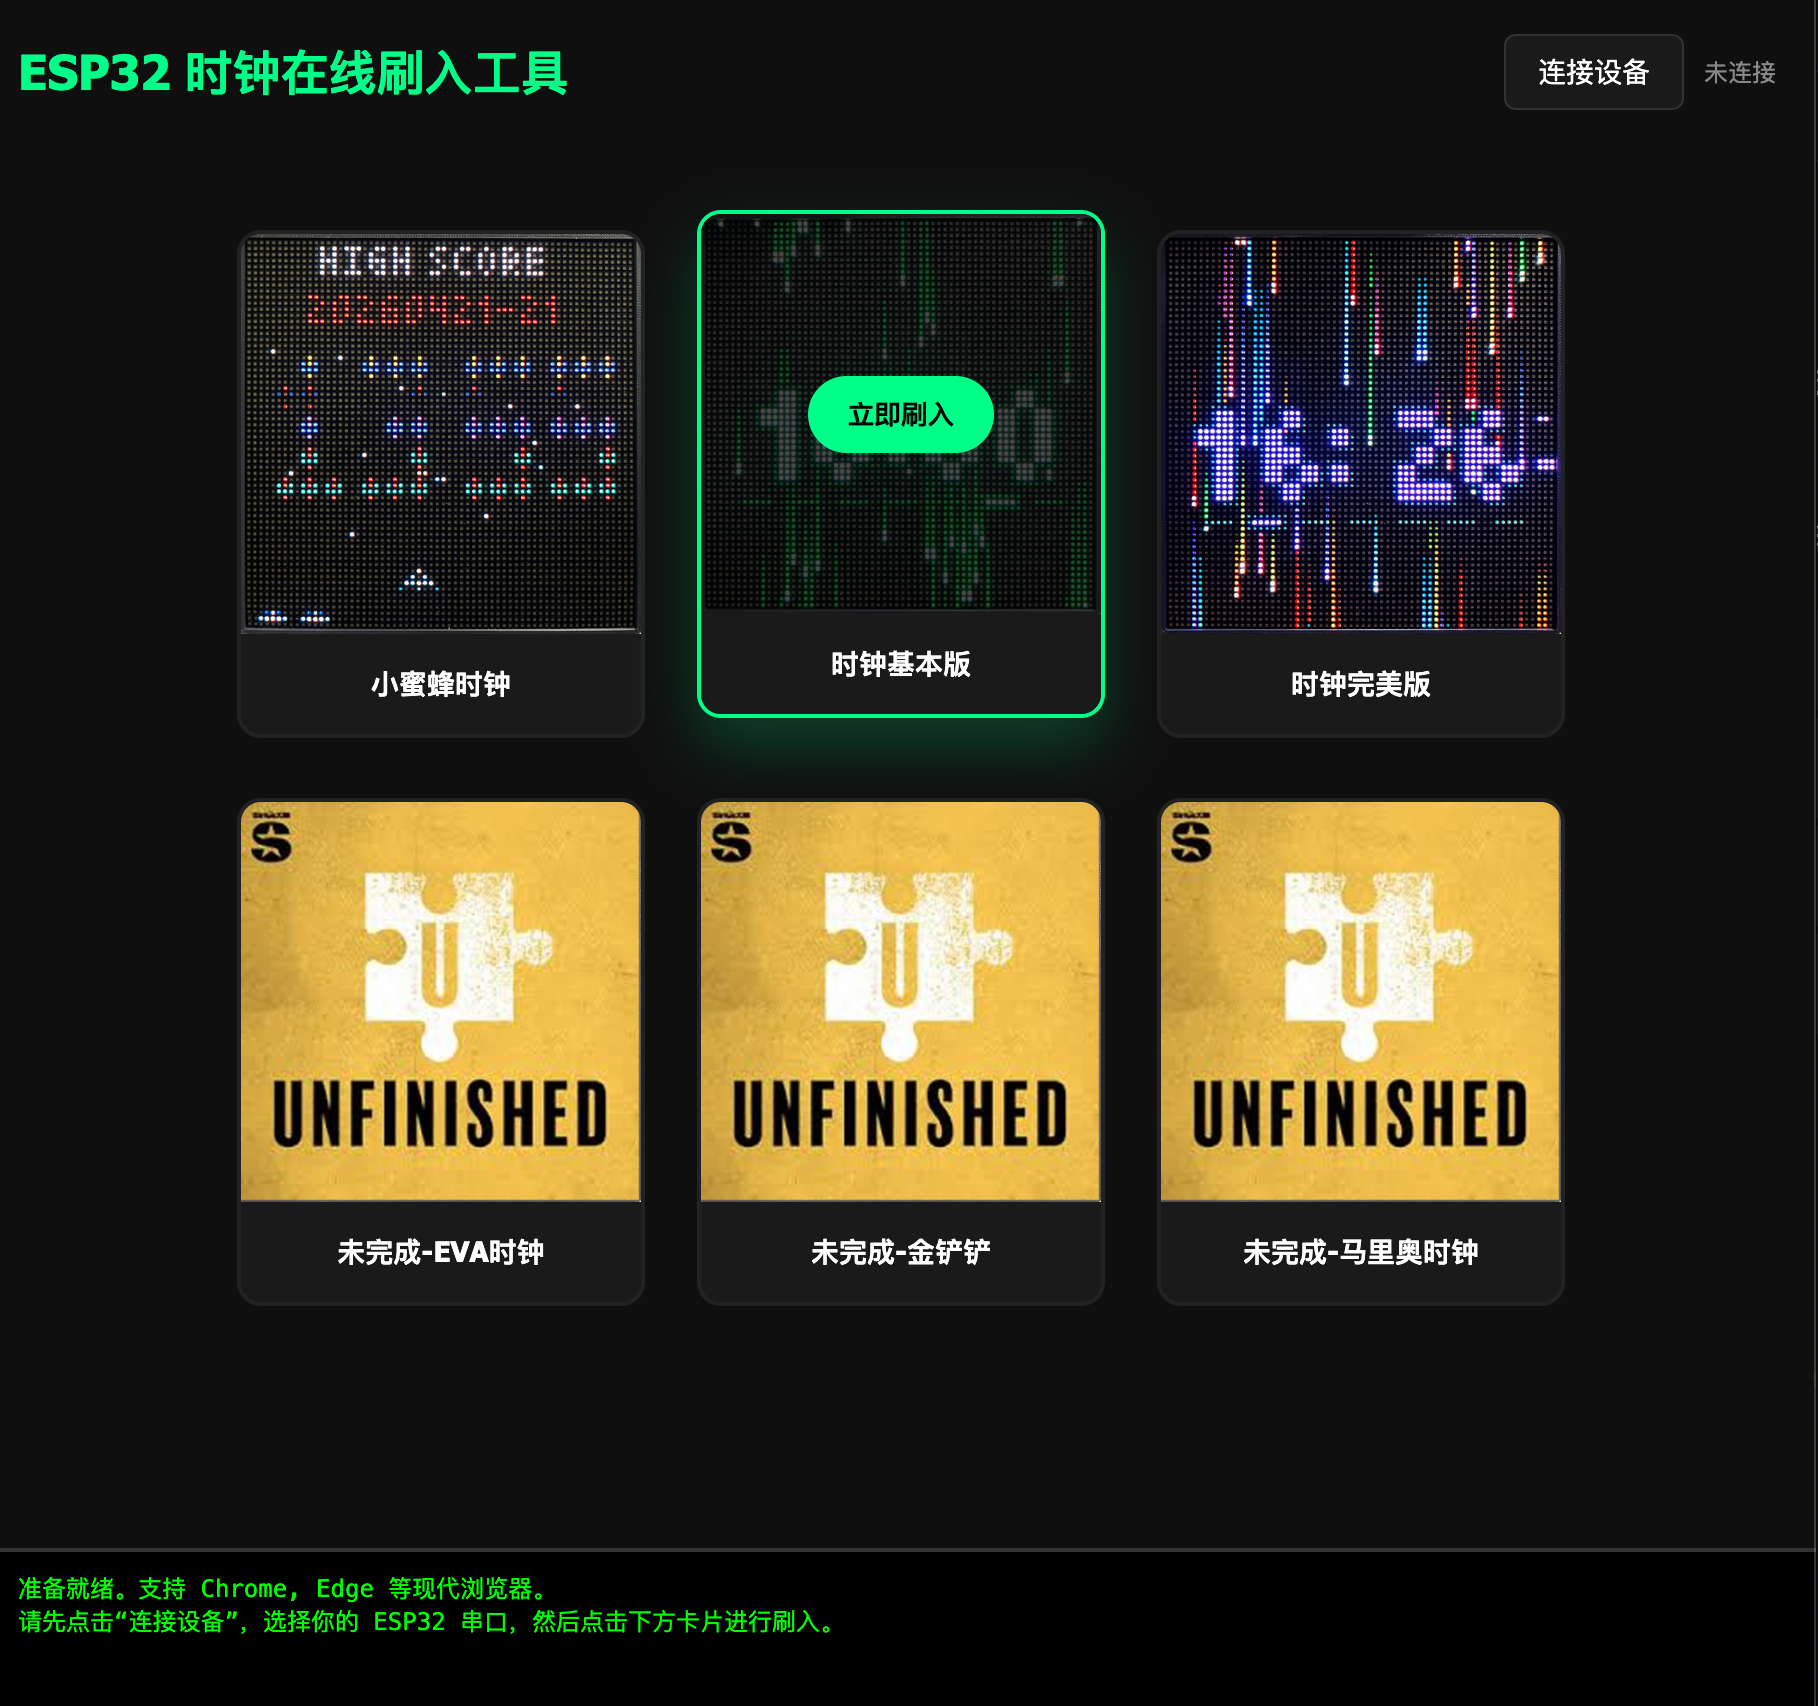
Overview
Based on ESP32 + HUB75 64×64 LED matrix panel. Features browser-based firmware flashing, WiFi auto-time-sync, and web-based configuration — no app install needed.
System Requirements
- ✅ Windows / Mac / Linux computer (no phones/tablets for flashing)
- ✅ Chrome / Safari / Edge browser (Chrome recommended)
- ✅ USB data cable (Type-C or Micro-USB)
Step 1 — Install Driver
Connect the device to your computer via USB. If the system doesn't recognize the serial port, download the driver for your chip:
Installation reference (with screenshots): CP2102 Driver Install Guide
Step 2 — Connect & Flash
Click the button below to open the browser-based flashing tool:
🔧 Open Flashing ToolClick the connect button in the page. A serial port selection popup will appear — choose your device's port (e.g. COM3, /dev/ttyUSB0), then connect.
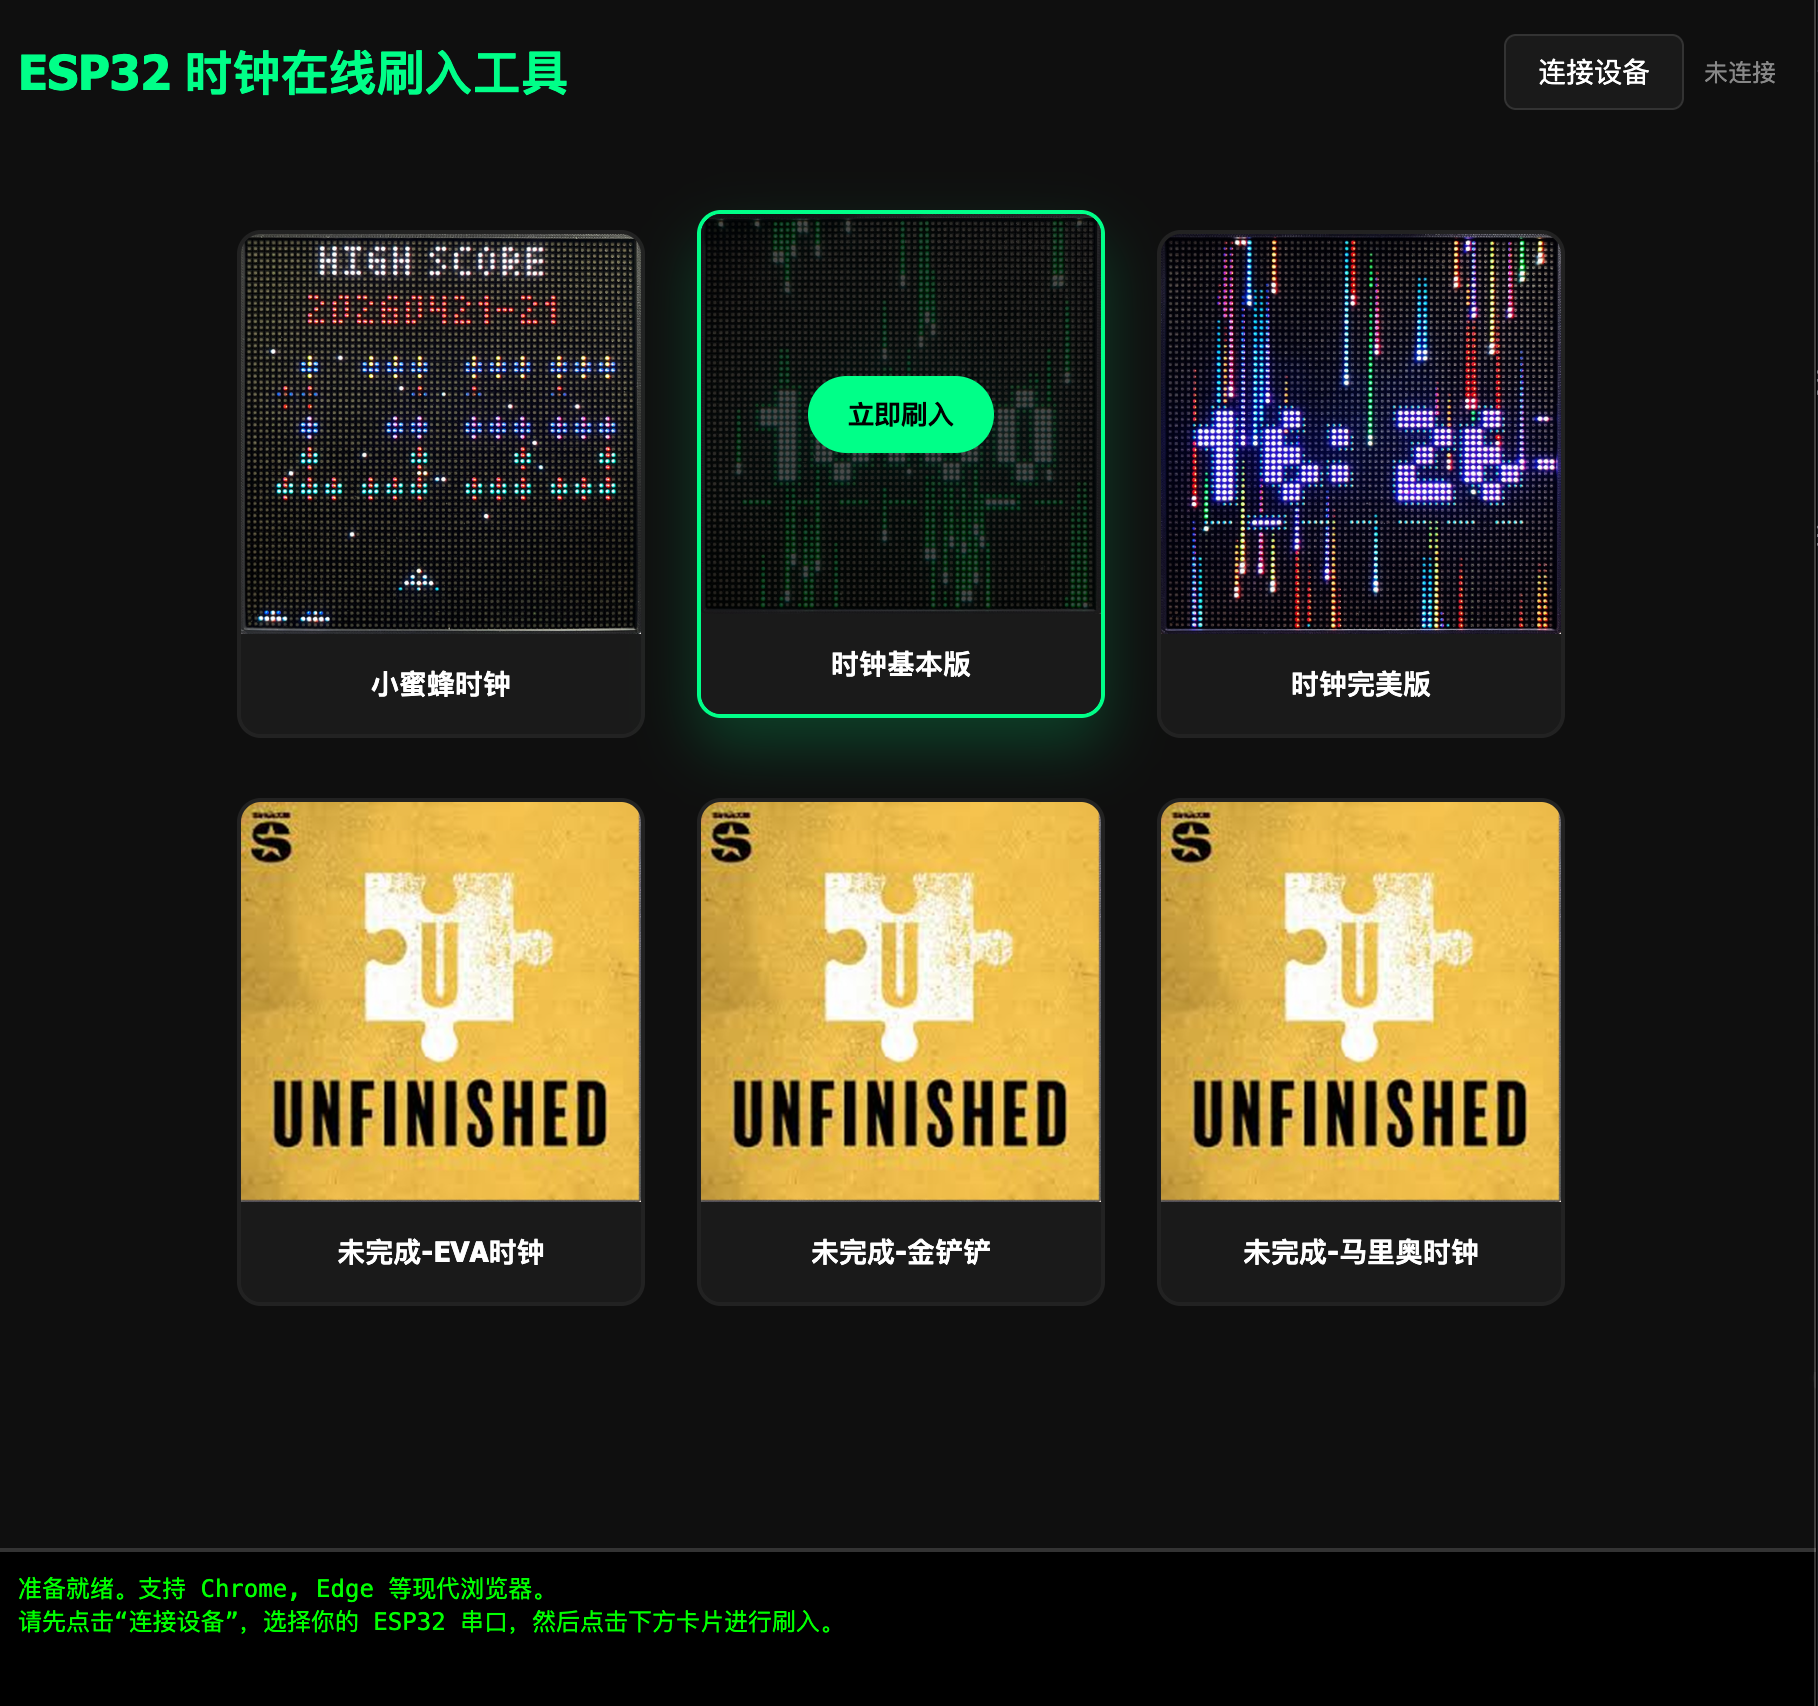
After connecting, choose the firmware file you want to flash. Click the flash button and wait for the progress bar to complete. The device will auto-restart.
Step 3 — WiFi Configuration
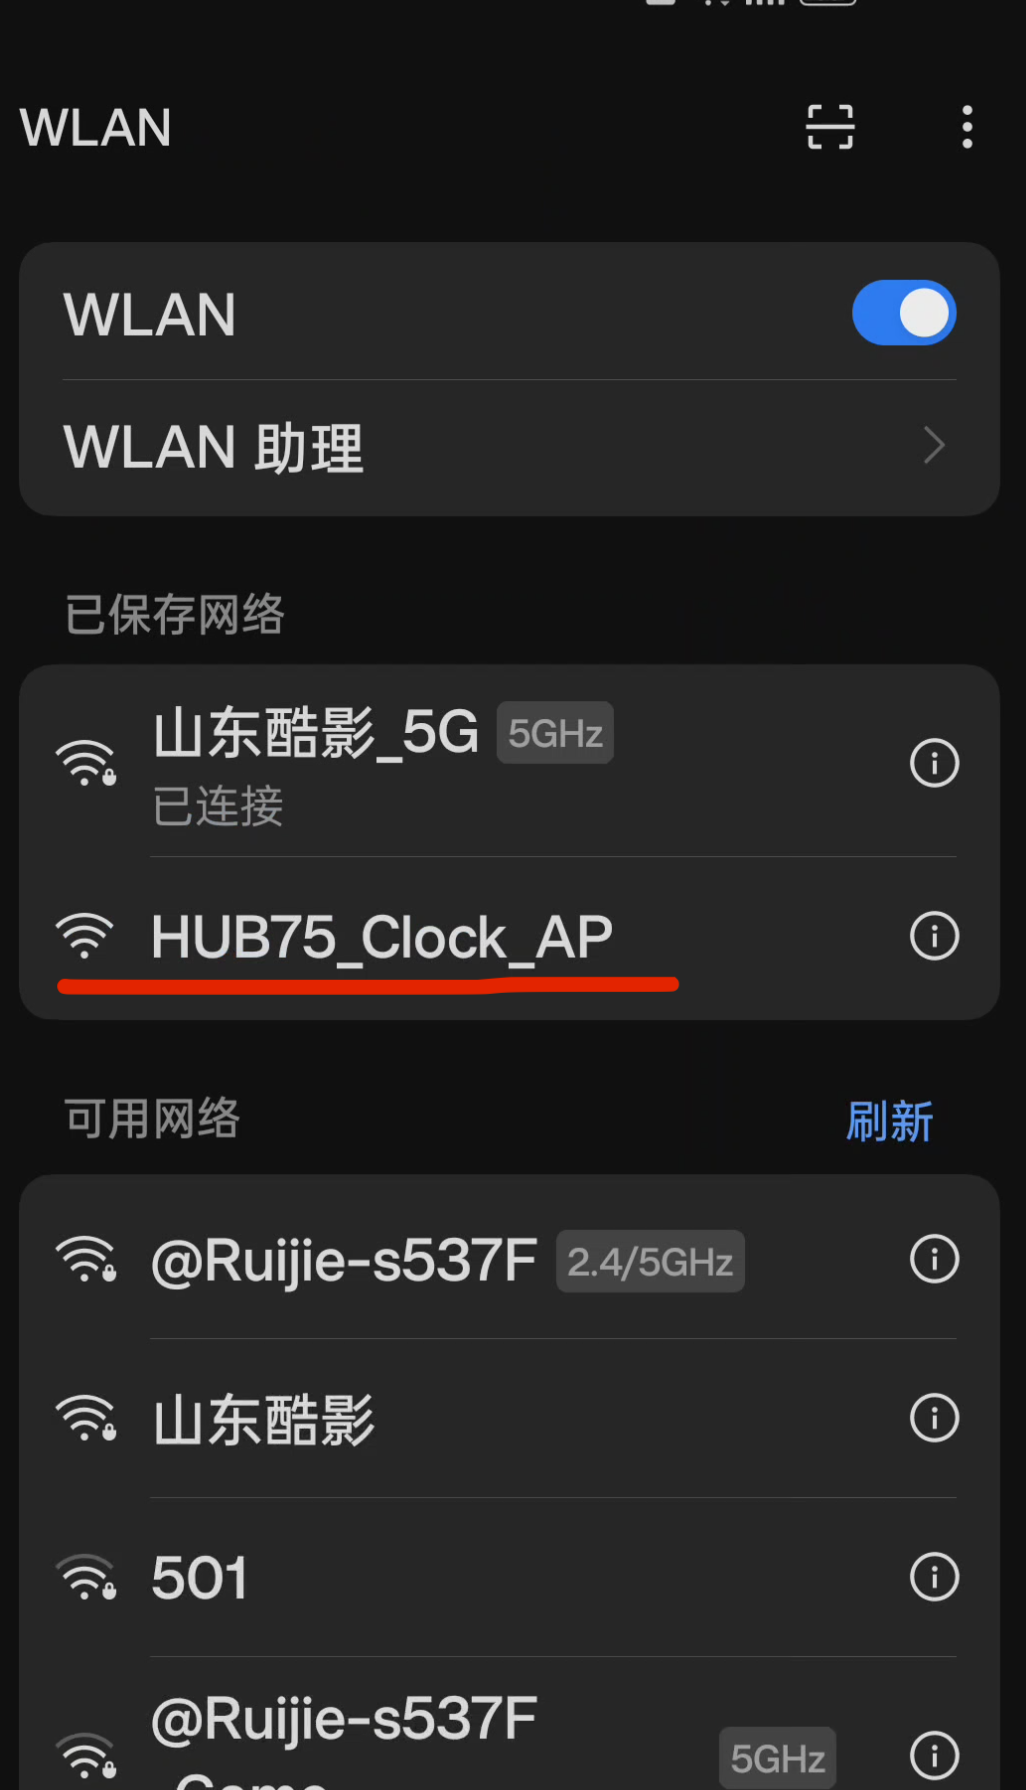
After flashing and auto-reboot, proceed to WiFi setup (do this even if the display is blank):
On your phone or computer, search for open WiFi networks. Look for HUB75_SETUP or CLOCK_AP — the name contains "HUB75" or "CLOCK" with no password.
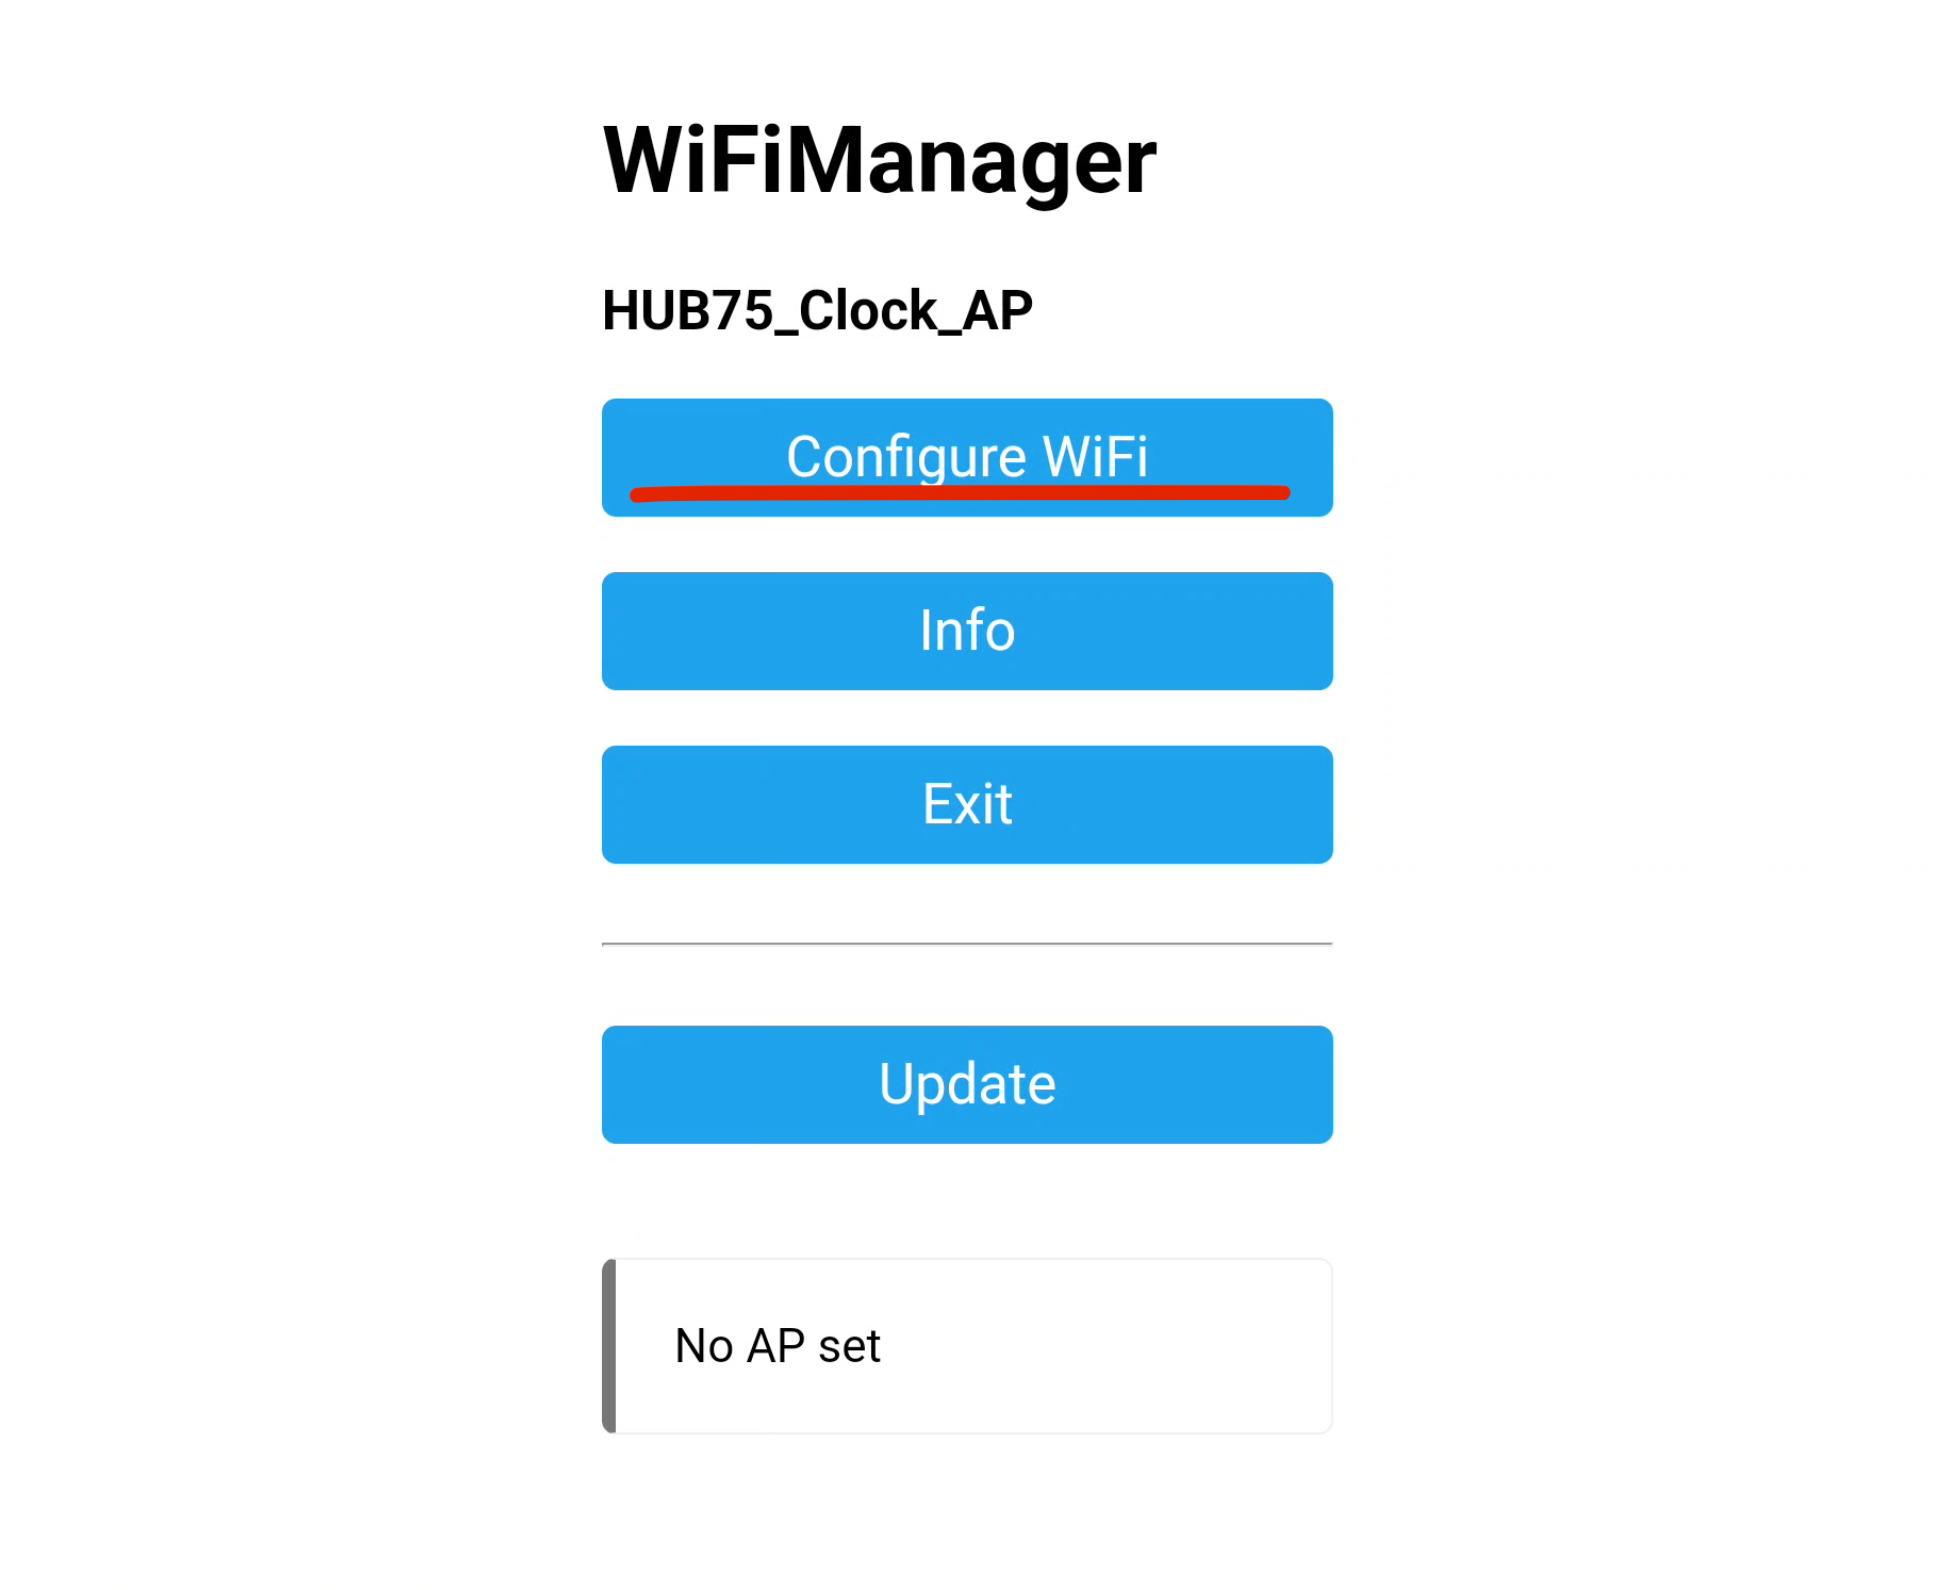
The config popup should appear automatically after WiFi connects. If not, open your browser and navigate to:
Click "Setup" or "Configure WiFi" and fill in your home WiFi name (SSID) and WiFi password.
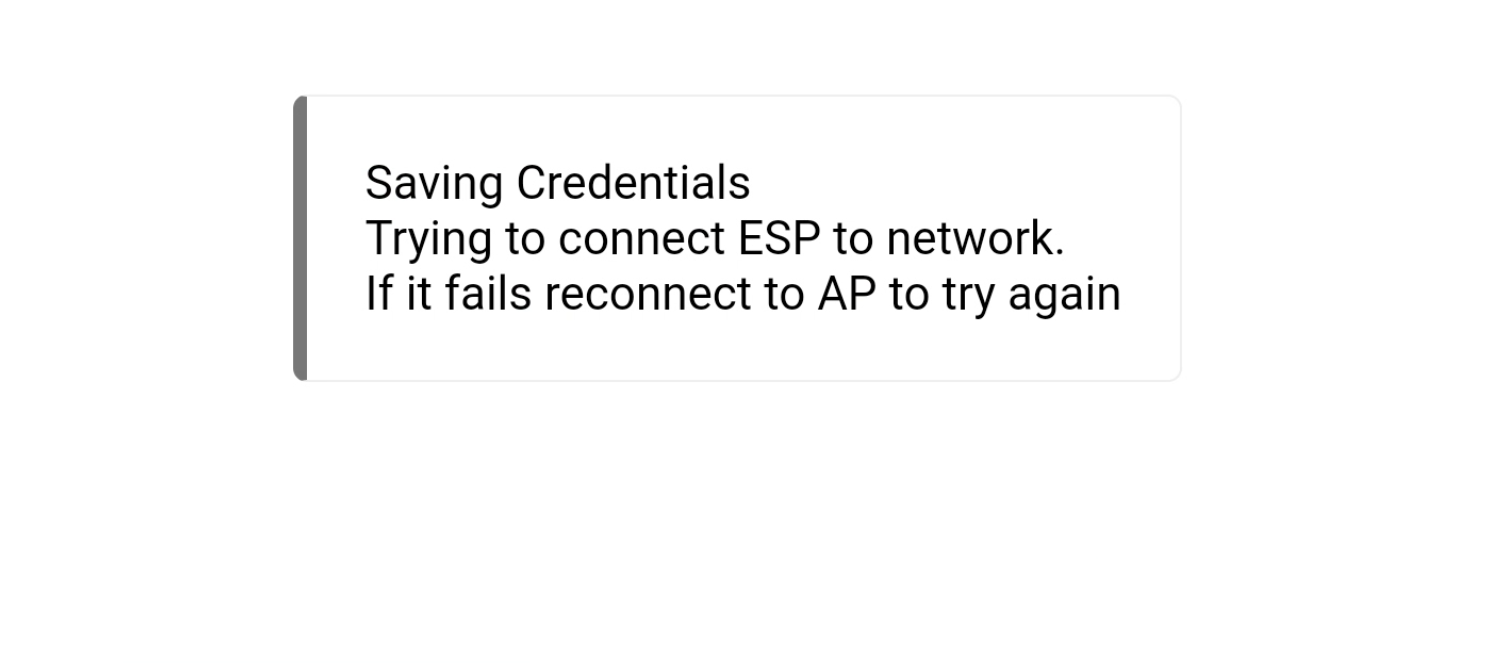
Click "Save" or "Connect". The device will attempt to connect to your WiFi network. On success it reboots and syncs time via NTP.
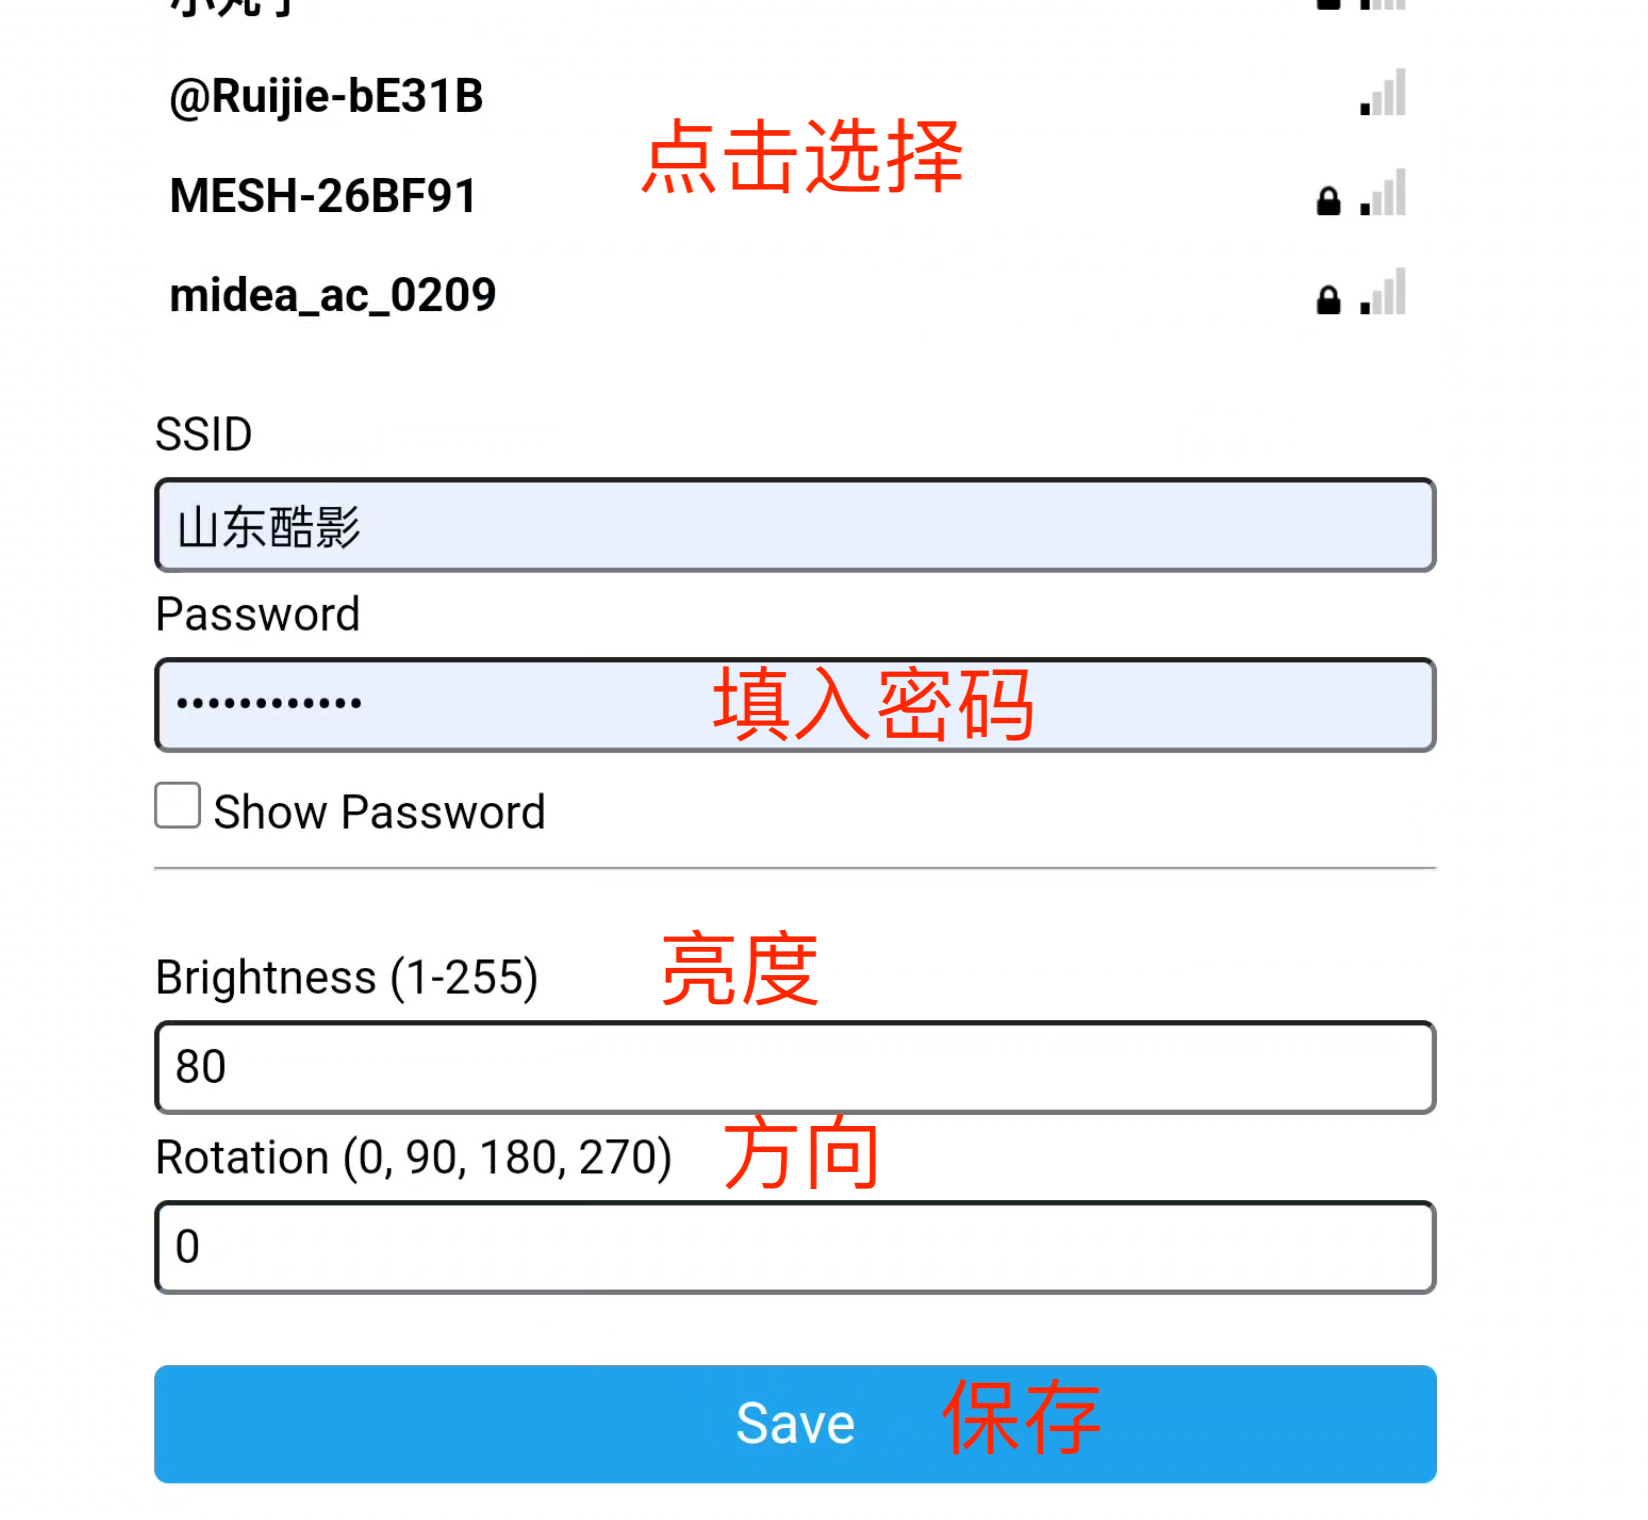
If you see this success page — you're done! The device is now connected to WiFi and displaying the current time from NTP.
Troubleshooting
No serial port found after connecting?
- Make sure you're using a data cable, not acharge-only cable
- Verify the driver installed correctly and restart your PC
- Try a different USB port (avoid USB 3.0 hubs)
Screen stays blank after flashing?
- This is normal — the display driver initializes after WiFi connects
- Proceed with Step 3 immediately
Can't connect to WiFi from config?
- Double-check SSID and password (case-sensitive)
- ESP32 only supports 2.4GHz WiFi — no 5GHz
- Ensure your router doesn't have AP Isolation enabled
Language / 语言
📖 中文版本